Wooden Jack-O-Lantern
DIY Wooden Jack-O-Lantern (Lantern Box)
A fun, beginner-friendly Halloween project you can finish in an afternoon.
Turn your Halloween décor up a notch with this simple wooden jack-o-lantern box. Cut a face into the front panel, assemble with pocket-hole joinery, then finish with stain, paint, or a scorched look for spooky vibes. Difficulty: Easy.

Tools & Materials
Tools
- Kreg® Pocket-Hole Jig (Micro compatible)
- Kreg Multi-Mark™ & Quick-Flip™
- Circular saw or miter saw
- Drill/driver + bits (½" and 1/8")
- Jigsaw
- Tape measure & pencil
- Optional: propane torch for “burnt” finish
- Sandpaper
Materials
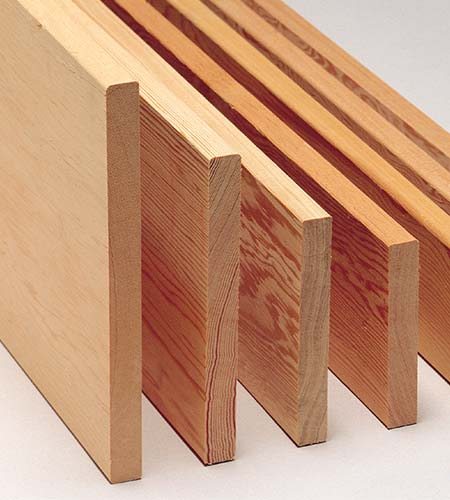
- Cedar boards: 1×8×4′ and 1×6×4′ (nominal)
- 1¼" Kreg® pocket-hole screws (approx. 20)
- Optional: stain, outdoor finish, or paint
- LED tealight or battery candle (for illumination)
Cut List
| Part | Qty | Dimensions (nominal) | Notes |
|---|---|---|---|
| Face & Back | 2 | 1×8 × 12" | Front gets the jack-o-lantern cutout |
| Sides | 2 | 1×6 × 12" | Same height as Face/Back |
| Bottom & Top-Cap Plug | 2 | 1×6 × 5¾"* | *Assumes 1×8 actual width 7¼" |
| Top Cap & Base | 2 | 1×8 × (board width + 1–2") | Cap/Base overhang; ~1½" extra looks nice |
Tip: Confirm your actual board widths (e.g., 1×8 is typically ¾" × 7¼") and adjust the Bottom/Plug length using: Bottom length = Front width − (2 × Side thickness).
Step-by-Step Directions
- Cut the Face & Back: From the wider board, cut two pieces to your desired height (12" shown).
- Cut the Sides: From the narrower board, cut two matching side pieces to the same height.
- Measure for the Bottom/Plug: Stack the Sides on the Face and measure the internal width. Use the formula above to calculate the Bottom and Top-Cap Plug length (about 5¾" with typical 1×8/1×6 stock).
- Cut Base & Top Cap: From the wider board, cut both to be 1–2" longer than board width to create a pleasing overhang (about +1½" works well).
- Lay Out the Jack-O-Lantern Face: Draw or trace your design on the Face panel.
- Drill Starter Holes: Use a ½" bit at interior cutouts; optionally add 1/8" relief holes at inside corners.
- Jigsaw the Face: Cut out the eyes, nose, and mouth; sand edges smooth.
- Drill Pocket-Holes: Two along one inside edge of each Side; three around the Bottom (one on each of three edges). Keep holes clear of the face areas.
-
Assemble the Box:
- Join one Side to the Face with pocket screws (holes facing inward).
- Attach the Bottom from above into the Side, then into the Face to help keep the box square.
- Attach the second Side and drive the remaining Bottom pocket screw.
- Dry-Fit the Top-Cap Plug: It should slide freely; trim/sand for a comfortable fit.
- Attach the Back: Pre-drill six countersunk pilot holes and fasten with screws (straight-in) so the back can be removed later if needed.
- Build the Top Cap: Mark centers on the Top Cap and Plug; align, pre-drill, and screw together.
- Test-Fit the Lid: Slide the Top Cap onto the box; adjust the Plug for a snug but removable fit.
- Locate & Attach the Base: With the lid fitted, measure the cap overhang offset; transfer that offset to the Base. Mark centers on the Base and Face, align, flip, pre-drill countersunk holes, and screw the Base on.
- Finish: Sand, then apply stain/paint or carefully scorch with a propane torch for a spooky, textured look. Re-install the lid, drop in a battery light, and enjoy!
Safety & Finishing Tips
- Always wear eye/ear protection and follow tool manufacturer guidelines.
- Use only battery LED candles—no open flames.
- If torching, work outdoors on a non-flammable surface and keep a fire extinguisher nearby.
- For outdoor display, seal all faces and edges with an exterior finish.
Bring your cut list to your local Windsor Plywood—our team can help you pick the right cedar boards and fasteners.