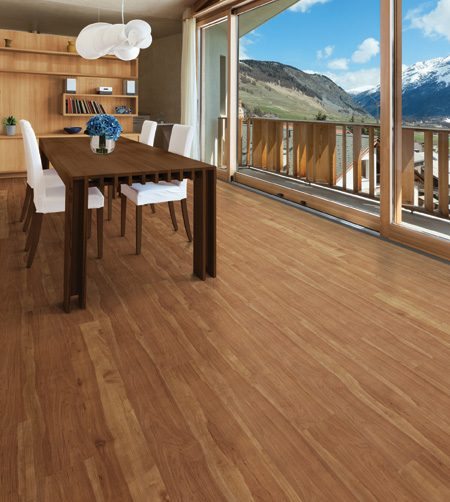

Caledon Waterproof Laminate – Style, Strength & Everyday Protection
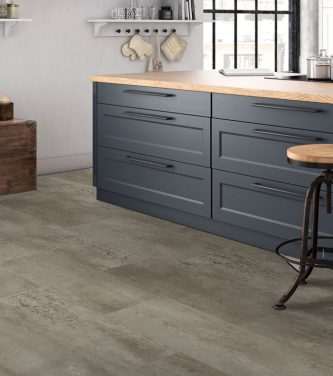
Caledon Waterproof Laminate combines the beauty of real hardwood with the durability of laminate and the added protection of waterproof technology. Engineered for busy households, this flooring offers modern textures, rich colour options, and impressive scratch resistance making it a smart choice for anyone looking to upgrade their space with long-lasting style.
In this guide, we’ll explore what makes Caledon Laminate unique and walk you through the basic steps of installing it in your home.
What Is Caledon Waterproof Laminate?
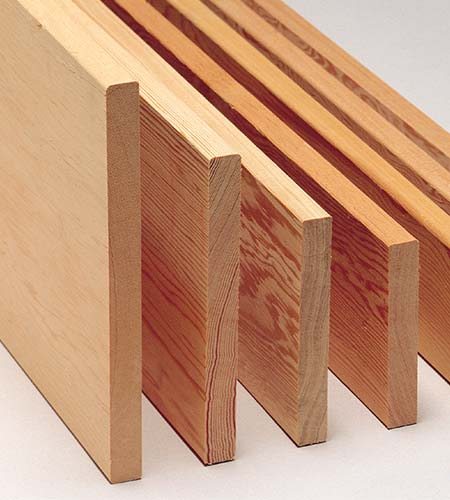
Caledon is a laminate plank flooring designed with a waterproof core and a durable wear layer. While offering the warmth and appearance of wood, it also provides the strong surface protection needed for everyday life.
Key features include:
- Waterproof construction to withstand spills and everyday moisture
- Scratch-resistant wear layer ideal for pets and high-traffic areas
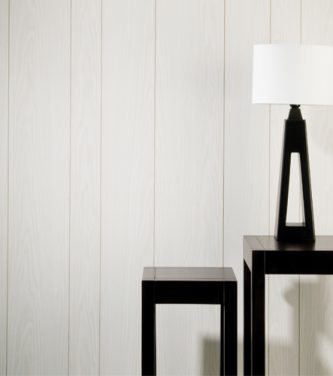
- Modern, narrow plank design for a sleek, contemporary look
- Click-lock installation suitable for DIY projects
- Cost-effective alternative to hardwood flooring
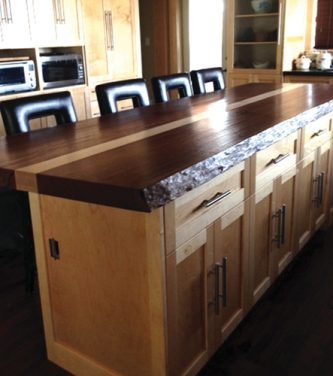
Best Applications
- Living rooms and family rooms
- Bedrooms and hallways
- Home offices
- Basements (following moisture guidelines)
- Dining rooms and common spaces
Note: Not recommended for rooms with standing water such as full bathrooms.
Why Choose Caledon Waterproof Laminate?
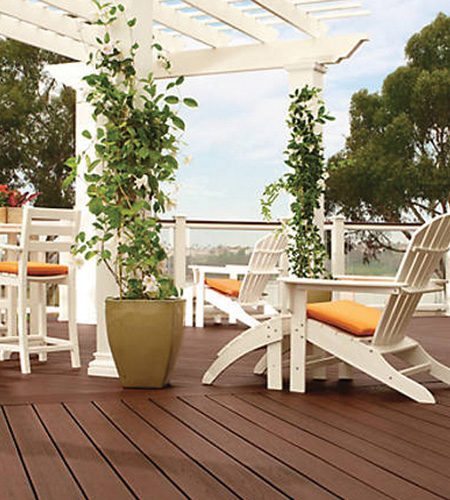
- Waterproof performance for added peace of mind
- Durable and family-friendly with excellent scratch resistance
- Low maintenance with simple cleaning requirements
- Stylish wood visuals suitable for many home styles
- Easy installation thanks to the click-lock system
Tools & Materials You’ll Need
- Laminate-compatible saw (mitre saw, jigsaw, or table saw)
- Utility knife
- Measuring tape
- Rubber mallet
- Tapping block
- Pull bar
- Spacers for expansion gaps
- Underlayment (if not pre-attached to planks)
Subfloor Requirements
For the best results, the subfloor beneath Caledon Laminate must be flat, dry, and stable. Because this is a floating floor, the planks connect together and rest on top of the subfloor rather than being attached to it.
Your subfloor should be:
- Level – within manufacturer tolerances for height variation
- Clean – free of dust, debris, and protruding fasteners
- Dry – especially important for basement installations
- Solid – no soft spots or loose boards
Laminate can be installed over plywood, OSB, concrete, and certain existing floors. Always confirm compatibility with your specific product.
Step 1: Acclimate the Flooring
Allow the unopened boxes of flooring to acclimate in the installation area for at least 48 hours, unless the manufacturer specifies otherwise. This helps the planks adjust to room temperature and humidity.
Step 2: Install Underlayment (If Required)
Some Caledon products come with attached underlay; others require a separate foam or acoustic layer. Install underlayment according to the product instructions and tape seams if required.
Step 3: Plan Your Layout
Measure the room and determine the sizes of the first and last rows. If the last row will be very narrow, trim the first row so both rows have a more balanced width.
Choose the direction of your planks most installers run them parallel to the longest wall or the main lighting direction.
Step 4: Install the First Row
Place spacers along the starting wall to maintain the expansion gap. Set the first row of planks with the tongue side facing the wall. Ensure that each plank is aligned properly and tightly connected at the end joints.
Step 5: Install Subsequent Rows
Begin the second row with a cut piece so that the end joints are staggered from the first row typically by at least 8" to 12" for both appearance and stability.
Angle each plank into the groove of the previous row and press or tap into place using a tapping block. Use a pull bar where necessary to tighten joints along walls and in tight areas.
Step 6: Install the Final Row
Measure the gap for the final row, accounting for the expansion space. Rip planks to width using a saw and lock them into place using a pull bar. Once the final row is installed, remove all spacers.
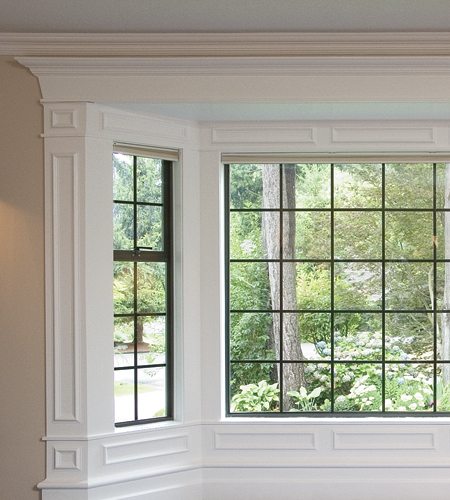
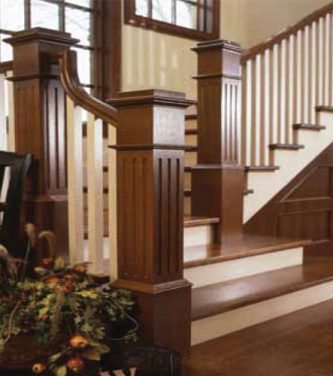
Step 7: Reinstall Trim & Mouldings
Reinstall baseboards or install quarter-round moulding to cover the expansion gap. Avoid pinning trim directly to the flooring so the floor can expand and contract naturally.
Care & Maintenance
Caledon Waterproof Laminate is designed to be low maintenance and family-friendly. With a simple cleaning routine, it will maintain its appearance for years.
- Sweep or vacuum regularly (use hard-floor settings).
- Clean with laminate-safe cleaners no wax or polish.
- Avoid standing water and wipe spills promptly.
- Use felt pads on furniture feet to minimize scratching.
- Place mats at entrances to reduce tracked-in debris.
With its strong waterproof performance, modern appearance, and straightforward click-lock installation, Caledon Waterproof Laminate is a reliable and stylish choice for today’s homes.