

Flooring - Getting Down To It
Overview of common flooring types, how they’re installed, and where they work best

Planning a new floor or replacing an existing one starts with choosing the right material. Below is a quick, practical guide to the main flooring types we carry, how they’re typically installed, and what spaces they suit best. You’ll also find notes on installation methods and other considerations like underlay, transitions, and indoor air quality.
Types of Flooring


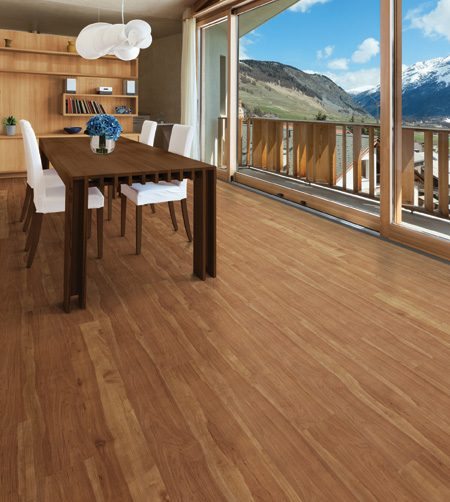
Engineered Hardwood
Real wood veneer over a stable core for wider, longer planks and better humidity tolerance than solid wood.
- Best for: Main floors, bedrooms, condos with sound rules
- Install: Nail or staple to wood subfloors, glue to concrete, or float with click systems
- Shop: Engineered hardwood options
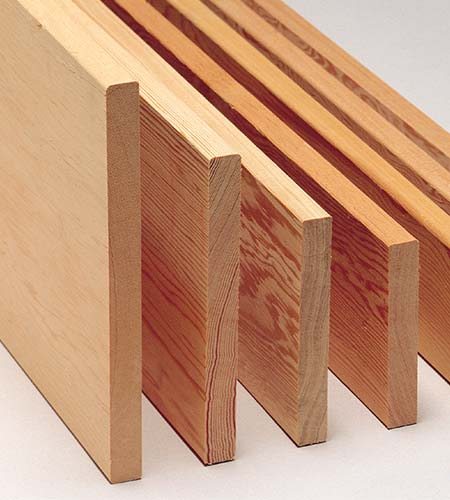
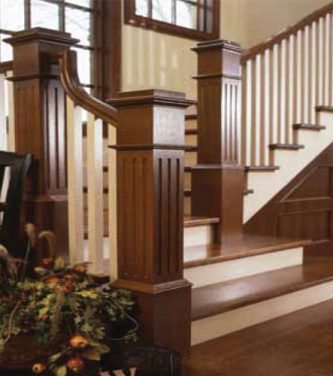
Solid Hardwood
One species throughout. Sandable and refinishable multiple times for a classic look.
- Best for: Above-grade rooms with controlled humidity
- Install: Nail or staple to wood subfloors; not recommended below grade
- Shop: Solid hardwood flooring
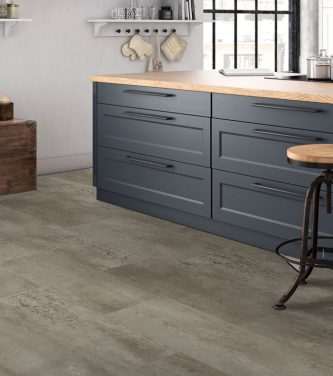
Vinyl (LVT/LVP, SPC/WPC, Dryback, Sheet)
Moisture-tolerant, durable surfaces with realistic textures. Great for busy households and basements.
- Best for: Kitchens, baths, basements, rentals
- Install: Click floating (SPC/WPC), glue-down dryback, or sheet vinyl with adhesive
- Shop: Vinyl flooring
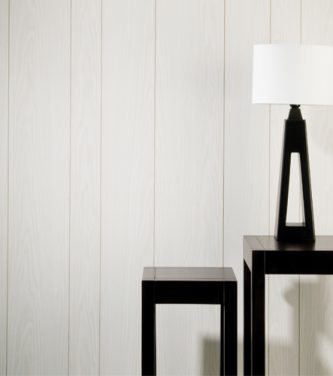
Laminate
High-density core with a photographic layer and tough wear surface. Budget friendly with good scratch resistance.
- Best for: Living spaces, bedrooms, rentals
- Install: Floating click over underlay; keep spills wiped up
- Shop: Laminate flooring
Rubber
Impact-absorbing and slip-resistant. Popular for gyms, workshops, and utility areas.
- Best for: Gyms, playrooms, garages
- Install: Loose-lay tiles/rolls or glue-down
- Shop: Rubber flooring
Cork
Warm, resilient, and quiet underfoot. Naturally renewable and comfortable for standing.
- Best for: Bedrooms, offices, play areas
- Install: Floating click or glue-down cork tiles
- Shop: Cork flooring
Installation Methods (at a glance)
- Nail/Staple Down — Common for solid and some engineered over wood subfloors. Blind-nailed through the tongue for a clean look. Best for on- or above-grade wood substrates.
- Glue Down — Used for engineered, some solids, and glue-down vinyl. Bonds to wood or concrete; suitable at, above, or below grade where moisture is managed.
- Floating — Click-together planks lock to each other, not the subfloor. Ideal over tile or concrete and for radiant heat. Use appropriate underlay and moisture barrier as specified.
Other Considerations
- Underlay — Floating installs (engineered, laminate, some vinyl) need underlay for acoustics, minor leveling, and moisture protection.
- Floor mouldings & transitions — Finish edges and doorways cleanly; some floating floors require transitions between rooms or long runs.
- FloorScore® & IAQ — Choose low-emitting, certified products to support indoor air quality.

Flooring FAQs
Which flooring is best for basements?
Vinyl (SPC/WPC) and some engineered floors perform well below grade when installed over a moisture barrier on a flat slab. Avoid solid hardwood below grade.
Do I need underlay?
Yes for most floating installs. Underlay improves sound, comfort, and moisture protection. See Underlay options.
What fasteners or adhesives should I use?
Use flooring-rated fasteners for nail/staple installs and manufacturer-approved adhesives for glue-down. Ask in-store for the right product for your species and subfloor.
Can I install over radiant heat?
Floating engineered and some vinyl lines are compatible with hydronic or electric systems within temperature limits. Check the product’s installation guide before purchase.