


Applying Wood Stain: Step-by-Step for a Smooth, Even Finish

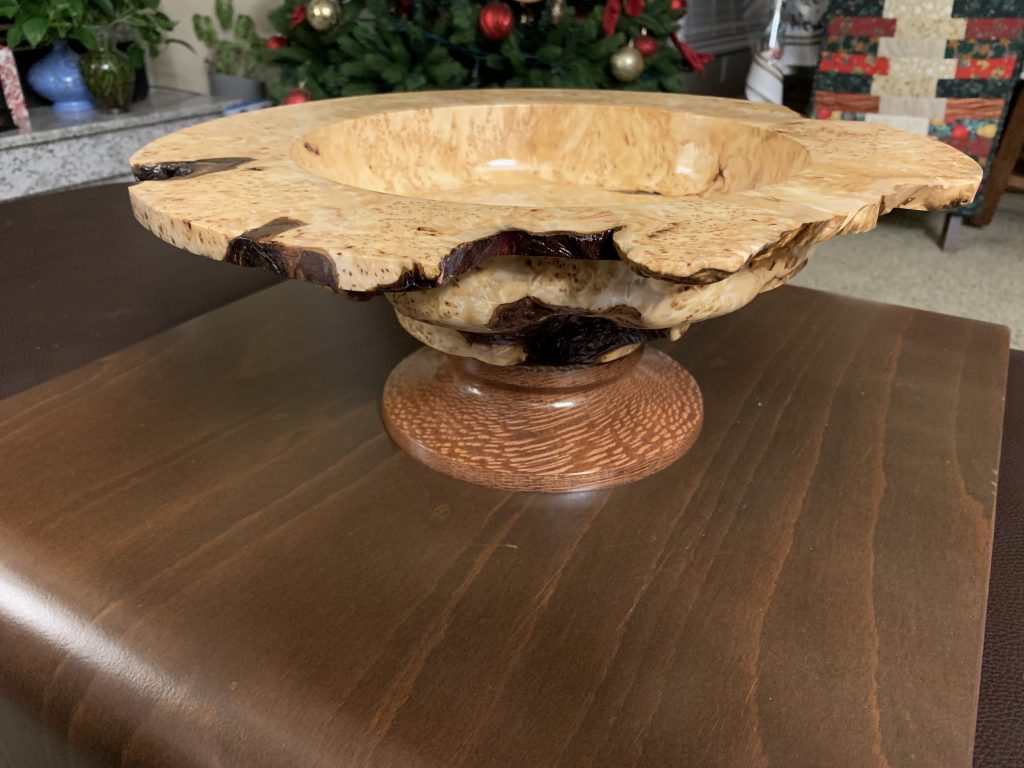
Applying wood stain is one of the most satisfying parts of any woodworking project. It brings the natural grain to life, enhances the warmth and depth of the wood, and helps protect it for years to come. Whether you are refinishing a family heirloom, staining custom trim, or finishing a piece of furniture made from Windsor Plywood lumber, the right technique will make all the difference.
This guide will walk you through every step of the staining process, from surface prep to final sealing, to help you achieve a smooth, even, and professional-quality finish.
Tools and Materials You'll Need
Before you start, gather all your tools and materials so the process goes smoothly from start to finish. Having everything within reach helps prevent rushed work and uneven results.
Essential Supplies:
- Sandpaper (start with 120-grit, then move up to 150, 180, and finish with 220-grit)
- Tack cloths or lint-free rags for wiping off dust and excess stain
- Natural-bristle brush, foam brush, or staining pad
- Stir sticks (avoid shaking stain cans)
- Pre-stain wood conditioner (especially for pine, fir, maple, and birch)
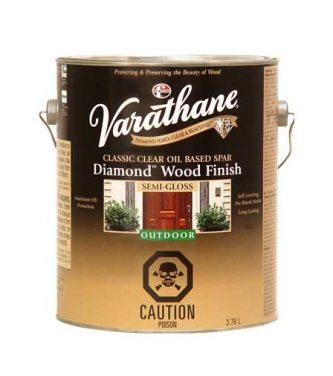
- Wood stain (oil-based, water-based, or gel stain)
- Drop cloth or plastic sheeting to protect your work area
- Disposable gloves and a respirator or mask (for ventilation and safety)
- Clear finish or sealer such as polyurethane, lacquer, or water-based topcoat
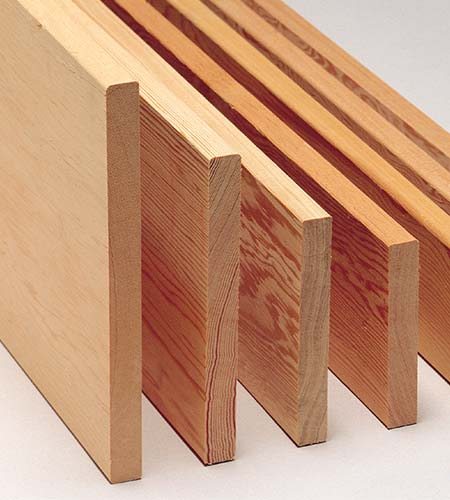
Preparing the Surface Before Staining

Proper surface preparation is the foundation of a flawless finish. Even the best stain cannot cover up poor prep work. You'll want to make sure the wood is smooth, clean, and ready to absorb stain evenly.
Sanding Wood Before Staining
Start with a coarser grit (around 120) to remove any mill marks or rough spots, then move to finer grits up to 220 for your final pass. Always sand with the grain of the wood to prevent visible scratches.
For large, flat surfaces, use a random-orbit sander to keep things consistent. For corners and detailed areas, hand sanding is best.
Tip: Different wood species respond differently to sanding. Softer woods like pine and spruce can become burnished (too smooth), which makes it harder for the stain to penetrate. Stop at 180-grit for those species, while harder woods like oak or maple benefit from finishing at 220-grit.
Cleaning Dust and Residue
After sanding, clean the surface carefully. Even a light film of sawdust can interfere with stain absorption. Use a vacuum followed by a tack cloth or a slightly damp rag to remove fine particles. Allow the wood to dry completely before applying stain.
Applying Pre-Stain Conditioner to Avoid Blotching
Softwoods and closed-grain hardwoods often absorb stain unevenly, resulting in patchy, blotchy areas. Applying a pre-stain wood conditioner helps prevent this. Brush or wipe it on evenly, let it soak in for 5 to 15 minutes, then wipe away any excess before applying the stain.
Conditioners help ensure that your stain absorbs consistently, especially important on species like pine, fir, alder, birch, or maple.
Step-by-Step Guide: How to Apply Wood Stain
Once your surface is properly prepared, you're ready to start staining. Work methodically and be patient—rushing through this stage is one of the most common causes of uneven or streaky finishes.
Test the Stain on Scrap Wood
Before staining your actual project, test the product on a scrap piece of the same wood or an inconspicuous area. This shows how the colour will look once applied and sealed.
Stir the Stain Thoroughly
Stir with a clean stick before and during use to keep pigments evenly distributed. Never shake the can, as this introduces bubbles that can cause imperfections.
Apply the Stain Evenly
Using a brush, cloth, or staining pad, apply the stain along the direction of the grain. Work in small sections, especially for large surfaces like tabletops or doors, so you can wipe excess stain before it starts to dry.
Let the Stain Absorb
Allow the stain to sit for about 5 to 15 minutes depending on the type and your desired colour depth. The longer it sits, the darker the tone will be.
Wipe Off the Excess
Use a clean, lint-free rag to wipe off any extra stain. Always wipe in the direction of the grain. This step controls how dark or light the finished result appears.
Dry Thoroughly
Follow the manufacturer's drying time instructions. Typically, oil-based stains take 6 to 8 hours to dry, while water-based stains may be ready for topcoating in 2 to 4 hours.
Apply a Second Coat (Optional)
For deeper colour or a richer tone, apply a second coat once the first is fully dry. Lightly sand between coats using 220-grit sandpaper for the best adhesion.
Inspect Under Good Lighting
Once dry, inspect your piece under good light to ensure the finish is smooth and even before moving on to sealing.
Common Mistakes to Avoid When Staining Wood
Even experienced DIYers can make mistakes when staining. Avoiding these common issues will help you achieve that perfect, professional look:
- Skipping sanding or stopping at too coarse a grit
- Forgetting to use pre-stain conditioner on softwoods
- Applying too much stain at once
- Allowing stain to dry before wiping off the excess
- Not testing the colour beforehand
- Working in direct sunlight or a dusty environment
- Failing to mix stain thoroughly
Sealing and Protecting Your Stained Surface

After staining, sealing your work adds both protection and beauty. A good sealer or topcoat shields the wood from moisture, scratches, and UV exposure, while giving it your desired sheen—matte, satin, semi-gloss, or glossy.
Popular options include:
- Oil-based polyurethane: Extremely durable and ideal for high-traffic surfaces like tables and floors.
- Water-based polyurethane: Dries quickly, low odor, and doesn't yellow over time.
- Lacquer: Provides a high-gloss, smooth finish commonly used on furniture.
- Oil finishes (Danish oil, tung oil): Penetrate deeply and offer a natural hand-rubbed look.
Apply the sealer in thin, even coats with a quality brush or foam applicator. Let each coat dry completely and sand lightly between coats with 220-grit sandpaper for a glass-smooth surface. Typically, two to three coats are ideal for most indoor furniture and trim.
Pro Tips for Achieving the Best Results
- Always stir stain thoroughly before and during use.
- Keep your workspace dust-free and well-ventilated.
- Use gel stains on vertical surfaces to prevent drips.
- Layer different stain colours for custom tones.
- Avoid staining in very hot, cold, or humid conditions.
- Always seal your stain for long-term protection.
- Test every product on scrap wood before starting your main project.
How to Apply Wood Stain - Frequently Asked Questions
What grit sandpaper should I use before staining?
Finish sanding with 180 to 220 grit for most hardwoods. For softer woods like pine, stop at 180 grit to avoid sealing the grain too tightly.
How many coats of stain should I apply to wood?
Most projects need one or two coats. Adding more can darken the colour but may reduce the visibility of the wood grain.
Should I use a brush or cloth for staining?
Either works. Brushes are ideal for detailed areas, while cloths or pads are great for larger surfaces and smoother application.
How long should I let wood stain dry before wiping or sealing?
Wipe off excess stain within 5 to 15 minutes. Allow it to dry fully before applying any sealer—usually 4 to 8 hours for oil-based stains or 2 to 4 hours for water-based.
What's the best way to seal stained wood for durability?
Use a polyurethane or lacquer topcoat applied in thin, even layers. Allow each coat to dry completely before sanding lightly and applying the next.
Next steps
Browse options or visit your nearest store for product-specific guidance and certifications.