Quick and Easy DIY Cedar Potting Bench

All materials are available at your local Windsor Plywood.
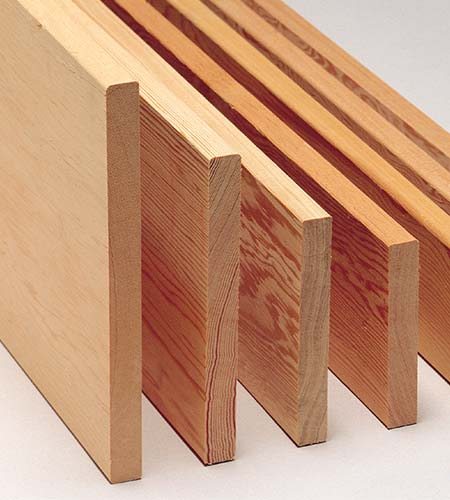
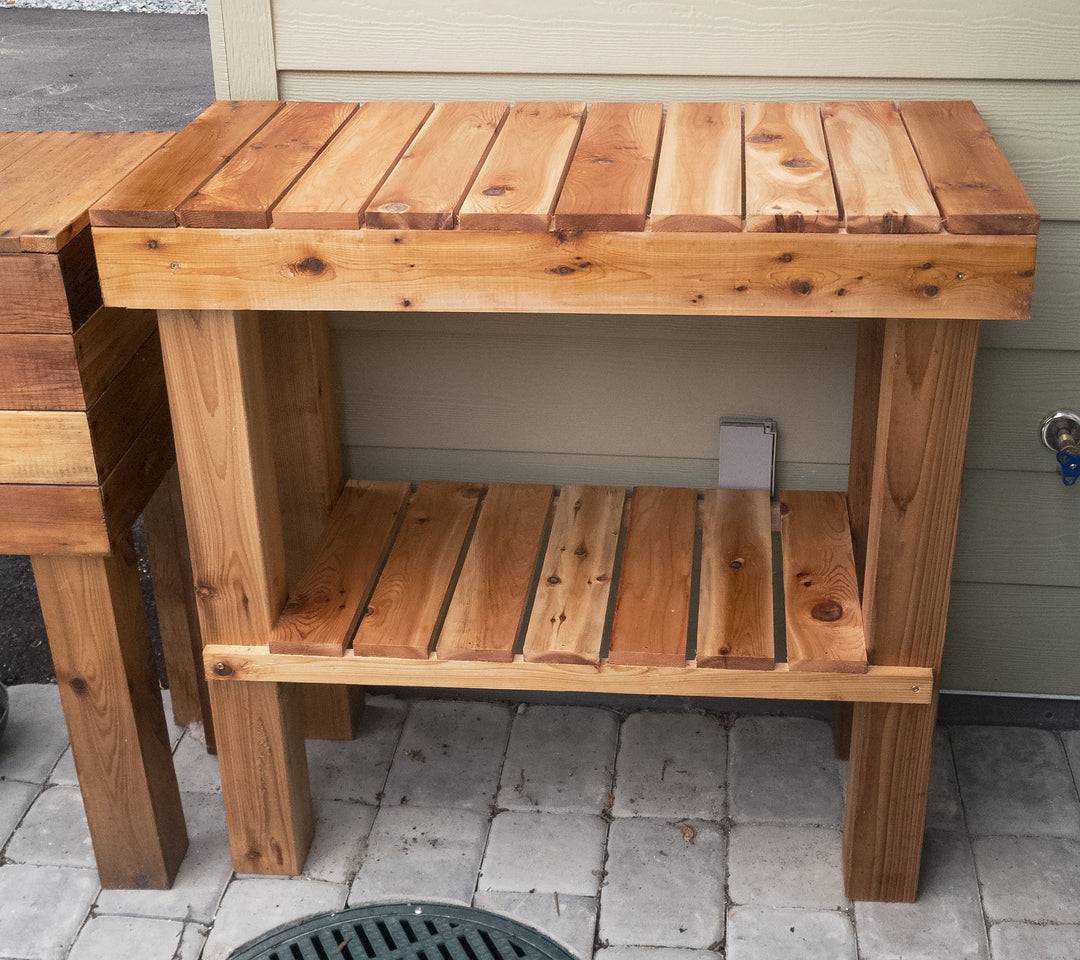
Stirling Noyes from the Windsor Plywood head office built this cedar potting bench for his front patio. This project was built using 1x4 Cedar boards, 1x2 Cedar boards, and 4x4 Cedar posts. All cuts were done with a miter saw and fastened together with 1-1/4 inch wood screws and finishing nails. Finally, like the raised planter beside it, it was finished with Teak Oil.

The final dimensions came roughly out to 35-3/4″ High, 17″ Wide, and 36-1/4″ Long.
General instructions will be provided as you will want to size this to your own needs.
- Start with the 4x4 posts and cut into four equal length legs.
- Cut two 1x4 pieces (apron) to length and two 1x4 pieces (apron) to width.
- Using the screws, fasten the four 1x4 aprons around the top of the legs to make a table without a top. Predrilling your holes is a good idea.
- Cut two 1x2 pieces to the length of the bench. Attach them to the bench, level to each other.
- Measure the width from one edge of the 1x2 to the other to get your shelf with.
- Cut 1x4 pieces to fill your shelf and space evenly. Attach each end of the 1x4 shelf to the 1x2 with finishing nails
- For the top, you can repeat step 6 or cut 1x4 pieces with mitered ends (as pictured in the sample) to cover up the end grain and screws used in the apron. Make sure to add 1-1/4" to the width of your top boards to take into account the additional wood attached to the front and side aprons.
- Finish with your preferred outdoor finish.
